January 19, 2016
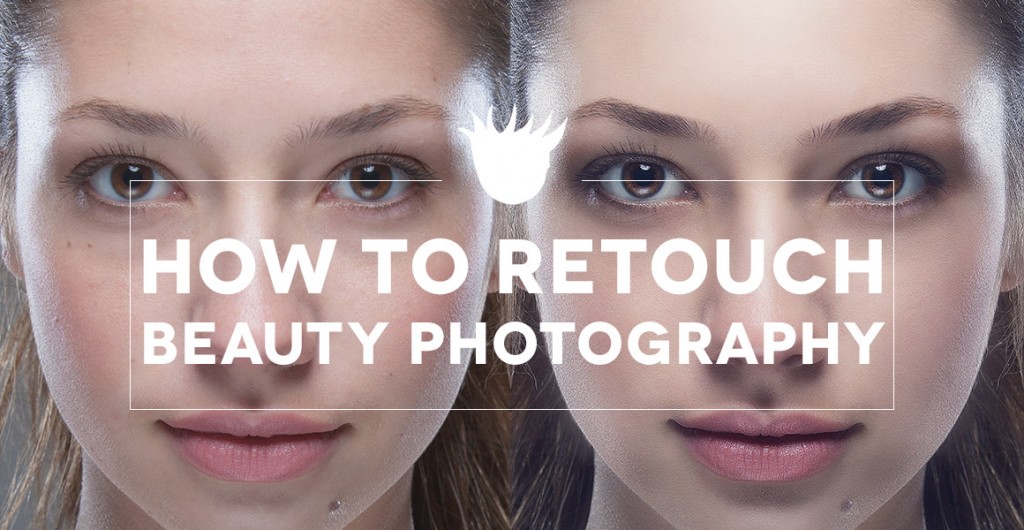
The Basics of Photo Retouching
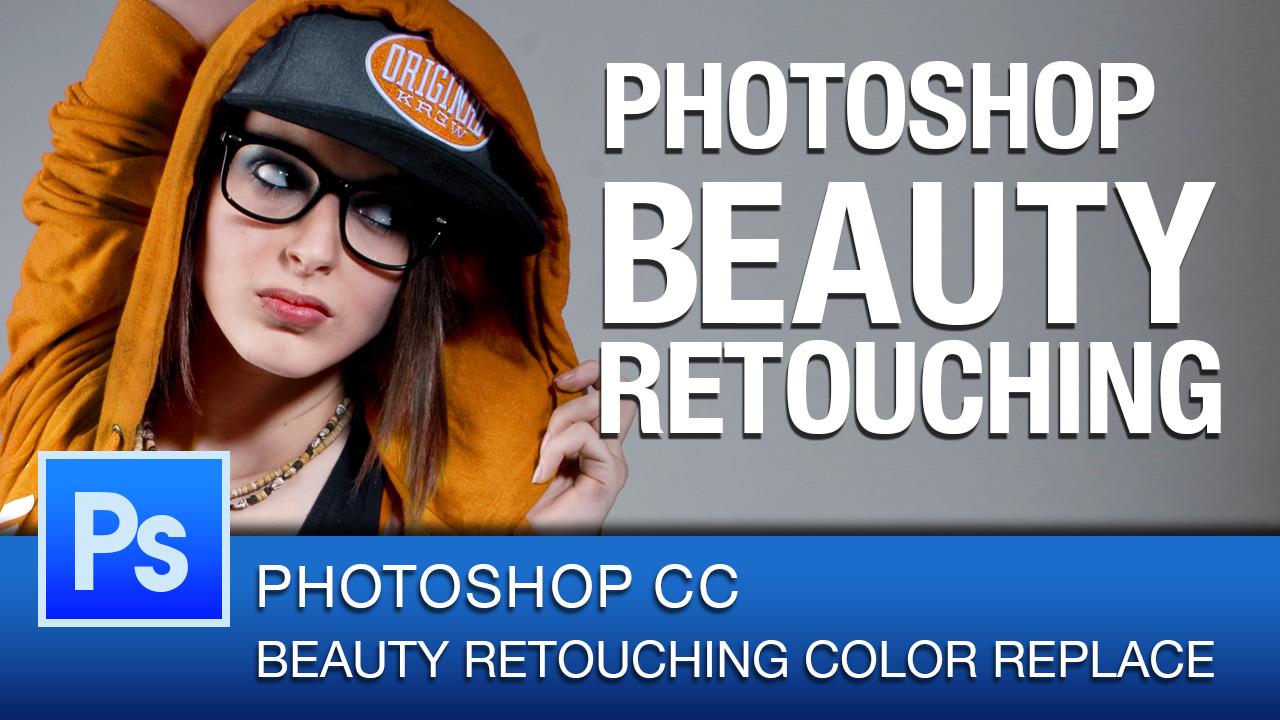
Here are a few tips that most professionals use that you can too if you are an enthusiast. 1. Techniques used to soften the skin Professionals often spend a large amount of time poring over skin the skin of the face, and brush in skin tones and remove marks at a very fine level. You